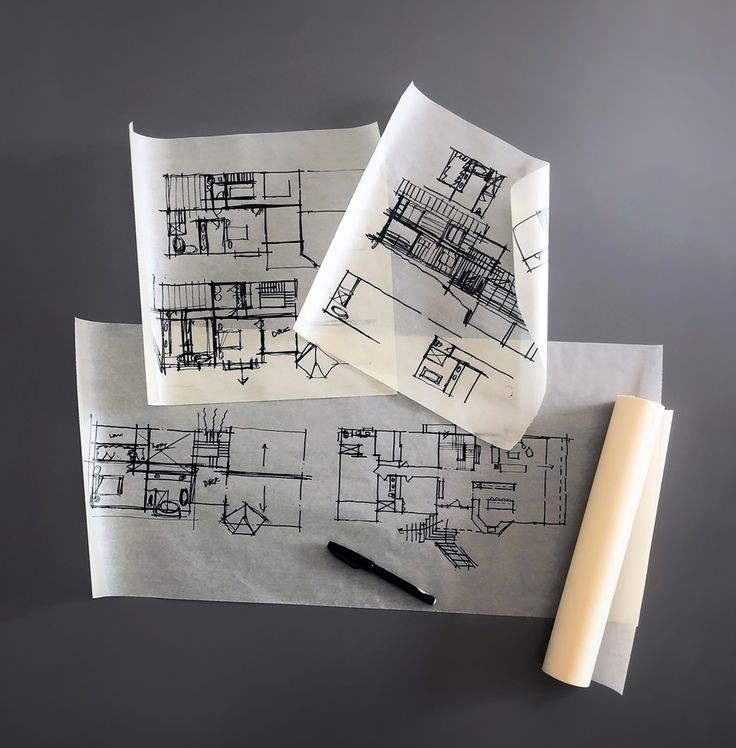
Creating paper models is an engaging and rewarding activity, blending artistry with technical skills. Before you apply intricate designs and bring your model to life, the essential first step is to draw a comprehensive sketch. This preliminary phase helps to visualize the final product and iron out any potential issues before moving to the actual design process. Here’s a guide on how to effectively draw sketches for your paper models.
Visualize the Final Model
Begin by clearly visualizing what you want your final paper model to look like. This mental picture will serve as your guiding blueprint. Consider the dimensions, proportions, and overall structure of the model. Whether it’s an architectural piece, an animal, or a vehicle, having a clear vision helps to streamline the sketching process.
Gather Necessary Materials
To start sketching, gather the necessary materials: quality drawing paper, pencils of various grades, an eraser, a ruler, and possibly some colored pencils or markers. Having the right tools on hand will make the sketching process smoother and more precise.
Start with Basic Shapes
Begin your sketch by drawing basic shapes that represent the different parts of your model. Use simple geometric shapes like circles, squares, and triangles to outline the primary components. These shapes act as the foundation upon which you will build more detailed elements. Keep your lines light and erasable, as this stage is about laying down the structure.
Define Proportions and Scale
Next, refine your basic shapes to ensure the proportions and scale of the model are accurate. This step is crucial, especially if your model has multiple components that need to fit together seamlessly. Use your ruler to measure and adjust the dimensions as needed, ensuring that each part of the model aligns correctly with the others.
Add Detailed Elements
Once the basic shapes and proportions are in place, start adding detailed elements to your sketch. Focus on one section at a time, gradually building up the complexity. For example, if you’re sketching a building, add windows, doors, and architectural details. If it’s an animal, sketch in features like eyes, ears, and limbs. Pay attention to symmetry and consistency throughout the design.
Incorporate Functional Features
Think about how your paper model will be assembled and incorporate any functional features into your sketch. This might include tabs for gluing, fold lines, or slots for interlocking parts. Clearly marking these features in your sketch will help you when it comes time to cut and assemble the pieces.
Refine and Clean Up
With all the elements in place, go over your sketch and refine the lines. Make any necessary adjustments to ensure accuracy and clean up any smudges or extraneous marks. At this stage, you can use darker lines to emphasize the final design, making it easier to transfer to your design materials.
Add Annotations and Notes
Adding annotations and notes to your sketch can be incredibly helpful. Label different parts of the model, indicate the type of folds (e.g., mountain or valley folds), and note any special instructions for assembly. These annotations will serve as useful references during the construction phase, ensuring you don’t miss any important details.
Create a Test Template
Before committing to your final design, consider creating a test template using your sketch. Transfer the sketch to a piece of paper and cut out the components to see how they fit together. This trial run can reveal any issues with proportions, alignment, or functionality that you might have overlooked. Making adjustments at this stage is much easier than after the design is finalized.
Transition to the Design Phase
With a refined and tested sketch in hand, you’re ready to transition to the design phase. Use your sketch as a guide to create the final design on your chosen medium, whether it’s cardstock, specialized paper, or digital software. The groundwork you’ve laid with your sketch will make this phase more straightforward and efficient.
Drawing a detailed sketch before applying designs to your paper model is a critical step that ensures precision and success in your project. By visualizing the final model, starting with basic shapes, refining details, incorporating functional features, and testing a template, you set a strong foundation for creating a beautiful and accurate paper model. This meticulous approach not only enhances the quality of your model but also makes the construction process more enjoyable and rewarding.

